Upgrading to Prefect Push Workers on AWS ECS
Overview
Prefect is an open-source orchestration tool for data engineering. The Python-based tool allows you to define, schedule, and monitor your data pipelines. Prefect is a great tool for data engineers and scientists who want to automate their data pipelines.
In an article titled Getting Started with Prefect: Powerful Orchestration for Your Data, I wrote about deploying Prefect to AWS EC2 to run what they called an Agent, which essentially ran a job after it was kicked off.
With the upgrade to Version 3.0, Prefect is retiring the longstanding Agent model in favor of a new architecture called Workers. The upgrade from v2 to v3 instantly broke my deployments, leaving me needing to figure out an alternative.
Workers are tighter integrated with the infrastructure they run on. This is a fabulous improvement because, in the past, you needed to figure out how to host the Agent on your computer. It was like installing software on a classic hosted server and maintaining it to OS updates.
They have a migration page, but reading it seemed like more work than I wanted to do for now. It was much easier than I expected, and I wanted to document my upgrade process and a couple of gotchas.
Let's walk through the process and point you to information that helped me.
Push Work Pools
Prefect 3 introduced a new work pool type called a Push Work Pool, which submits flow runs for execution to serverless computing infrastructure. The UI (below) shows the interface to create these, but we will do this via the CLI.

After you're logged into your Prefect Cloud environment and the AWS CLI, you can run the following command to provision your infrastructure automatically!
prefect work-pool create --type ecs:push --provision-infra dka-ecs-pool
You will receive the following results after it completes
Provisioning infrastructure for your work pool dka-ecs-pool will require:
- Creating an IAM role assigned to ECS tasks: PrefectEcsTaskExecutionRole
- Creating an IAM user for managing ECS tasks: prefect-ecs-user
- Creating and attaching an IAM policy for managing ECS tasks: prefect-ecs-policy
- Storing generated AWS credentials in a block
- Creating an ECS cluster for running Prefect flows: prefect-ecs-cluster
- Creating a VPC with CIDR 172.31.0.0/16 for running ECS tasks: prefect-ecs-vpc
- Creating an ECR repository for storing Prefect images: prefect-flows
I've set up many ECS-based services; Prefect did a very nice job keeping this setup clean, cost-effective, and minimalistic.
Code Deployment
Update each Python file that contains a Flow with a main entry point to have deployment code instead of run code. It's as simple as this.
if __name__ == "__main__":
    dead_pool_status_check.deploy(
        name="deadpool-ecs-deployment",
        work_pool_name="dka-ecs-pool",
        work_queue_name="dka-ecs-queue",
        image=DockerImage(
           name="<<ecr_url>>.amazonaws.com/prefect-flows:latest",
           platform="linux/amd64",

        ),
The main tip I discovered here is that the documentation will show you just a container name used (prefect-flows:latest). However, this doesn't contain the pointer to your registry in AWS. Prepend the name with the URL when creating your ECR container.
The other tip I can add here is that you should also specify a work queue. If you don't, it will create one called Default, which, if there is more than one pool in your environment with a queue named Default, will end up with collisions, and your Flows won't run properly.
Containerization and Docker
Prefect will create the docker image, including the docker file. All you need to do is adjust the main entry point with the code above. However, you need to make sure you’re authenticated to AWS ECR.
- Navigate in AWS to ECR
- Find the Repository called
prefect-flows - Press the View Push Commands button and run the first command in the list in your CLI
- Retrieve an authentication token and authenticate your Docker client to your registry. Use the AWS CLI
- Once you have the command, run it in the VS Code Terminal
- Run the python file from the root directory that contains the below deploy code:
python deadpool/deadpool_ecs.py - Check ECR to ensure the image was pushed
- To keep your environment tidy, open the Docker desktop and remove all images and containers.
Dockerfile
The Dockerfile is automatically created and deleted after deployment. Here is what it looks like for reference.
FROM prefecthq/prefect:3.0.1-python3.9
COPY requirements.txt /opt/prefect/prefect-dka/requirements.txt
RUN python -m pip install -r /opt/prefect/prefect-dka/requirements.txt
COPY . /opt/prefect/prefect-dka/
WORKDIR /opt/prefect/prefect-dka/
One of the awesome benefits of housing your Prefect Flows in a single repository is that the code lives in one place. Because of that, the code for all your deployments will be contained in your Docker image by default.
One Docker image will contain all of the code needed for all of your flows
Deploying Multiple Flows
You can reuse the same image for all Flows that are built - make sure the name is set to the same name="<<ecr_url>>.amazonaws.com/prefect-flows:latest" for everyone you deploy, including the latest tag.
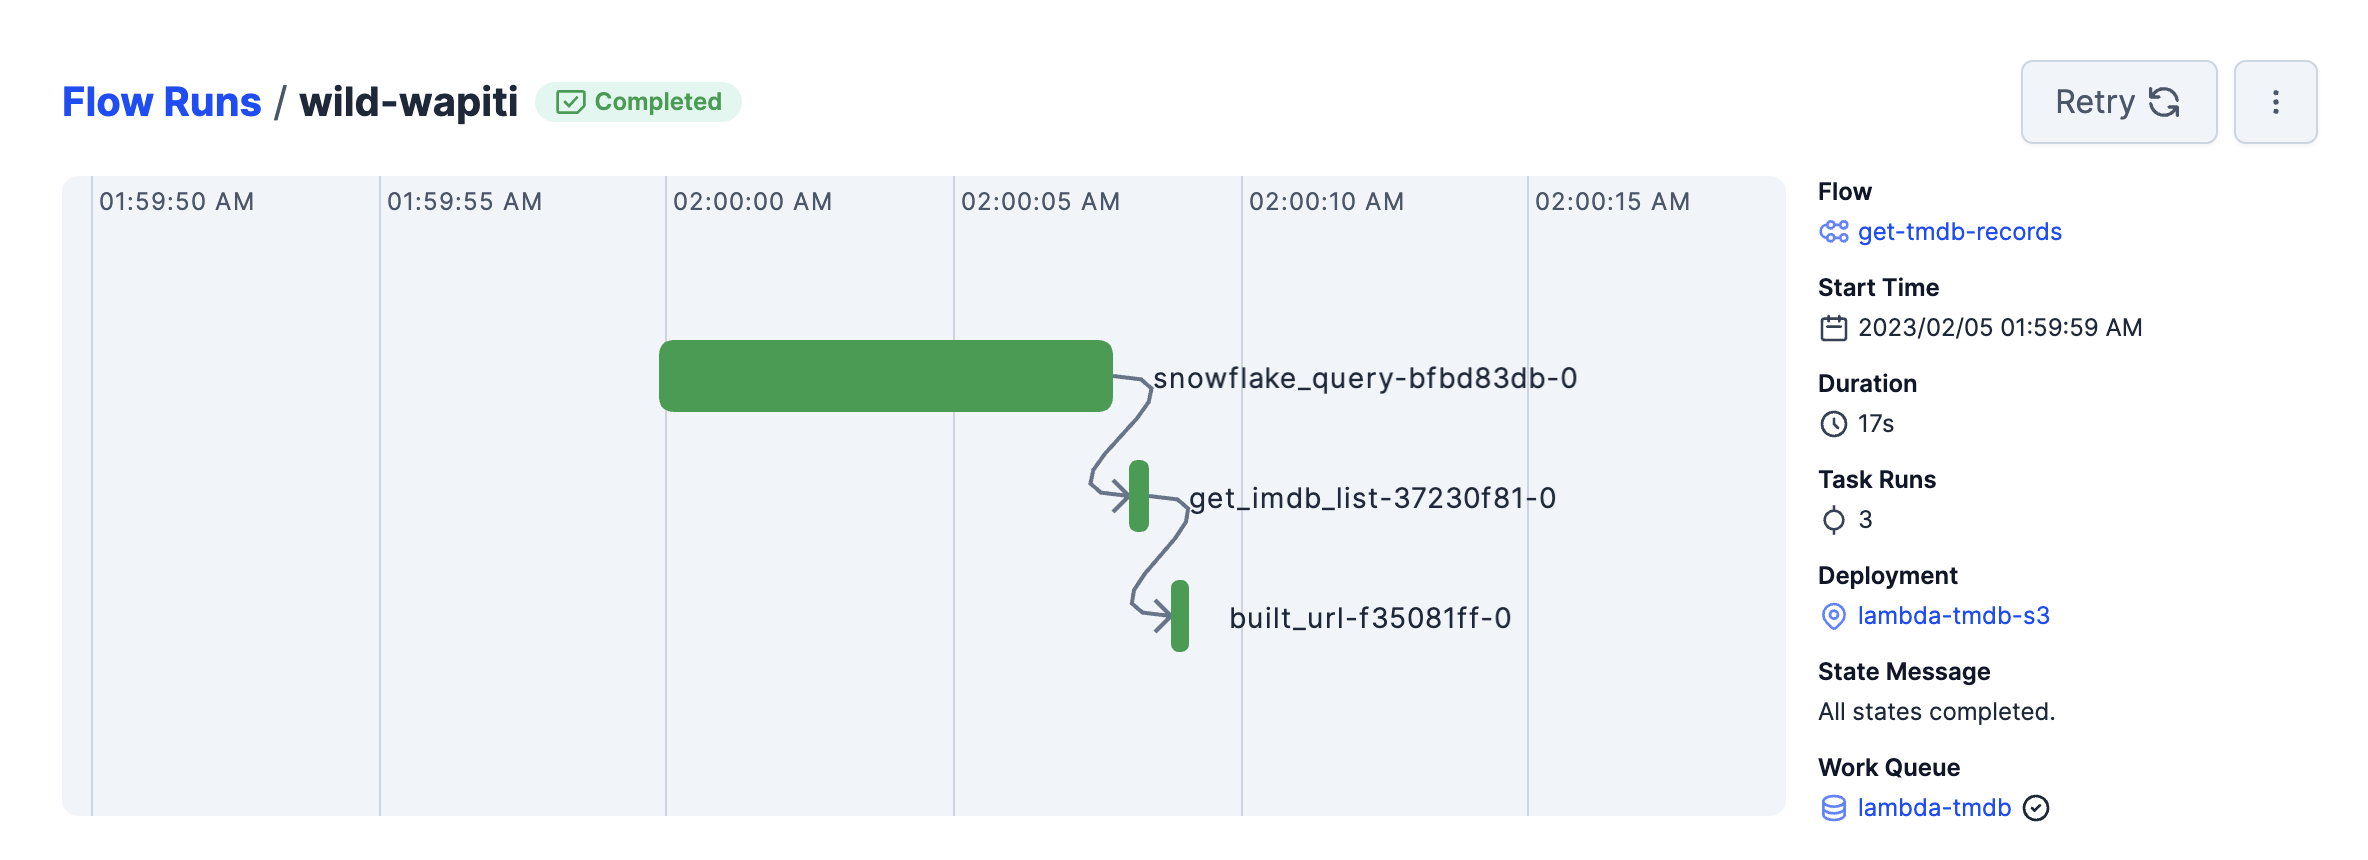
Let's look at this by starting multiple jobs at the same time. Here are three separate Flows running concurrently.

When we move over to AWS ECS and look at the Tasks running, we see one for each of the three jobs above. As soon as these are done running, the tasks will disappear from the UI since the processes and servers will be terminated.

Skipping the Build and Push Steps
As mentioned above, all of your code lives in one place, and therefore, all of your deployments' code will be contained in your Docker image by default.
Because of that, if you have already built a fresh docker instance, you don’t need to push a new one - the default built copies 100% of the code from the repo into the image and, therefore, doesn’t need to be updated with each push.
name="scrape-rookies-animation-studios-ecs-deployment",
work_pool_name="dka-ecs-pool",
work_queue_name="dka-ecs-queue",
build=False,
push=False,
image=DockerImage(
Cost Considerations
One of the best things I've found about this setup is that they are much more cost-effective than running EC2 servers 24x7. Because ECS FARGATE is serverless, you only pay per compute time that it's running - currently, my job takes only 5 minutes to run, which only costs about 1/2 of one cent per run, whereas EC2 was about $1 per day. While this is a tiny workload, you can see the orders of magnitude difference when running on serverless here.
Conclusion
In conclusion, upgrading to Prefect 3.0 has streamlined the orchestration of data pipelines by replacing Agents with Workers, offering tighter integration with infrastructure, and simplifying deployment through serverless computing. The introduction of Push Work Pools and Docker integration makes managing multiple flows more efficient and cost-effective. By leveraging AWS ECS FARGATE, users can significantly reduce costs by only paying for compute time, demonstrating the advantages of serverless technology over traditional EC2 setups. Overall, Prefect 3.0 provides a powerful, efficient, and economical solution for data pipeline orchestration.


